Black Ops 2 Zombies Die Rise Map Pack

- ZOMBIE GUIDES
- BLACK OPS 2: TRANZIT GUIDE & WALKTHROUGH
- UPRISING DLC: MOB OF THE DEAD GUIDE & WALKTHROUGH
- VENGEANCE DLC: BURIED GUIDE & WALKTHROUGH
The second zombies mode for Call of Duty: Black Ops II, "Die Rise" takes the 4 players from TranZit and removes them from the farm town to a crumbled skyscraper. Die Rise is easily one of the more confusing maps available. It combines tight corridors with vertical levels that will have you riding up and down elevators or using the new buildable, the Trample Steam, to get from one place to another. Another new addition is the Sliquifier; a wonder weapon that will shoot goo on the ground and cause a big slippery mess for the zombies caught up and even yourself.
TABLE OF CONTENTS
- Getting Started
- Buildables - The Trample Steam
- Buildables - Nav Card Table
- Buildables - The Sliquifier
Getting Started
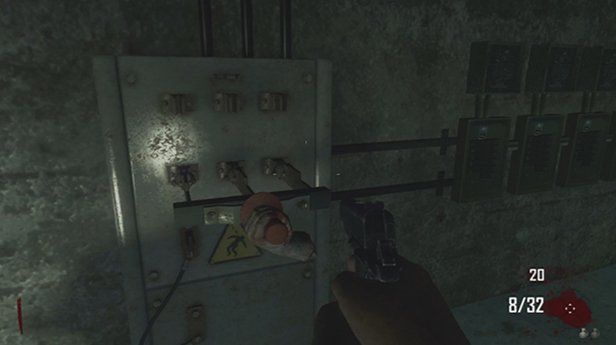
The first thing that you will want to do when getting started in Die Rise is to turn on the power that will get the elevators moving so you can travel vertically and get back to the spawn area. Kill a few zombies so that you have 750 points and then enter the elevator in the spawn area. Ride it down and make a right at the end of the hall. Go to the end and then hop over the gap to the next building. Once you land, go through the open door and then make a right to the green double doors. Go through there paying the 750 points and you now be in the power room.
Walk directly forward and the power switch will be on the wall. Activate it and the elevators in the room will now be active. Op on top either of the elevators and ride it to the top floor, which will let you out on the roof. Once on the roof, go to the far side and you can climb up the catwalk ramp there to the tower. Behind the tower will be an area that you can jump across to reach the first building where you started. Hop on top of the elevator there and you can ride it back up to the double doors that lead to the spawn area. Once there, start with building the Trample Steam and fighting off the progressive hoards.
The Buildables
Unlike the rest of the Zombie modes that Black Ops II offers, there aren't all that many buildables that can be found in the game. There is one wonder weapon and one buildable that allows you to toss yourself and zombies across long distances. The other buildable that can be found is the mysterious Nav Table that each zombie mode offers. All three buildables have their respective parts located near a workbench where they can be built without too much harassment from the undead.
The Trample Steam
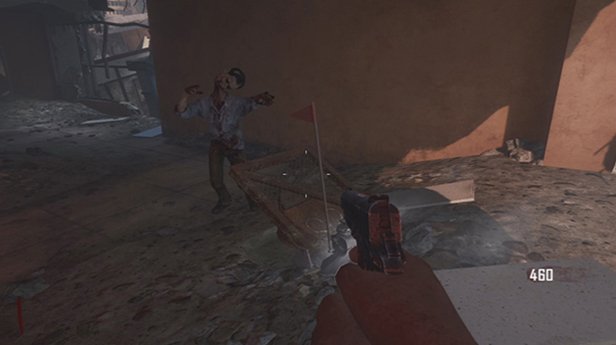
The Trample Steam can be used to launch you and your teammates across large gaps, to other buildings, as well as toss zombies to their deaths. To build the Trample Steam, you will need to find the four parts listed below. Sometimes they can all be found in the spawn area, but more often than not, you will need to open the double doors between the lion statues to find a part or two.
Once you have the parts located, you will then need to drop down the elevator shaft on the right of the double doors that has the Quick Revive inside it. Ride the elevator down two floors and there will be a work bench there on the right that you can use to build it. Ride the elevator back up to retrieve the rest of the parts, but be warned that if you hear the bell alarms go off, that the elevator will rise up fully and if you are standing on it, you will be killed.
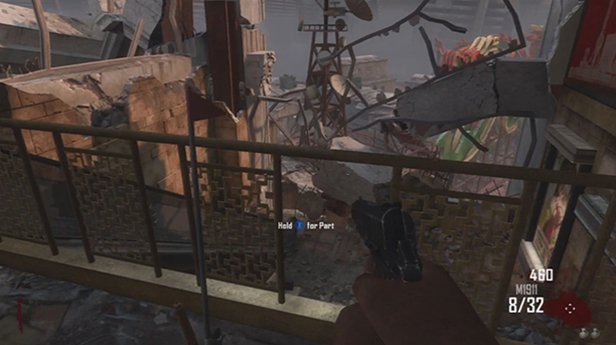
Red Flag: Located in the start area next to the double doors, or through them and against the railing on the right.
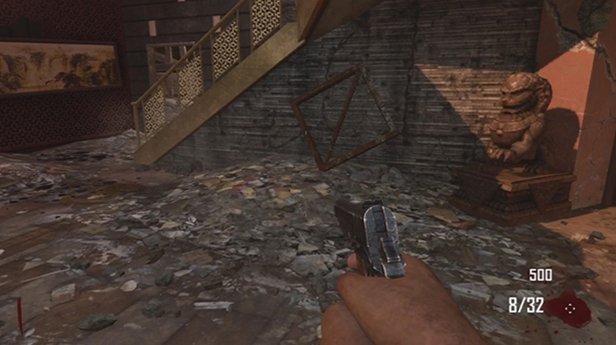
Screen: The screen can either be located in the spawn area or through the double doors and at the end of the hall on the right.
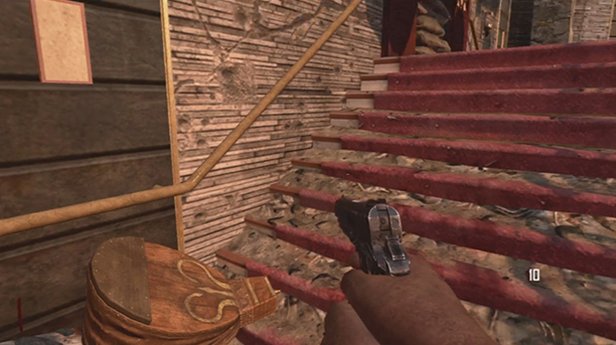
Bellows: The bellows can either be located in the spawn area or through the double doors and at the end of the hall on the right.
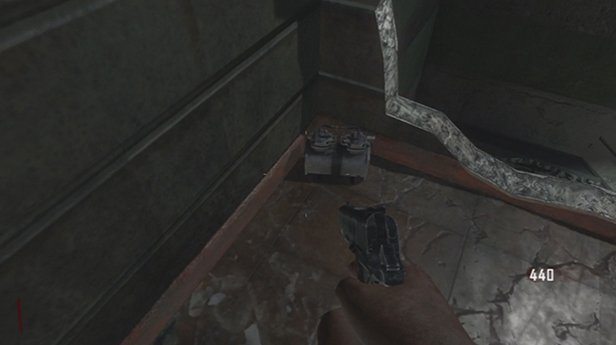
Compressor: Either on the desk in the starting area, or through the starting double doors and straight down the hall and then right just before the broken wall.
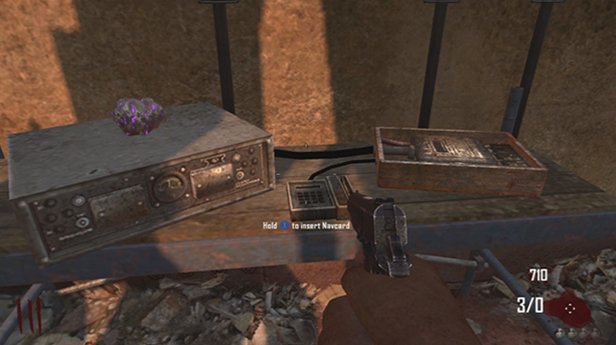
Nav Card Table
To build the Nav Table, you will need to head to the roof of the building where the green dragon sign is. Once there, you will be able to find all four pieces in the locations described below. To build the table, you will need to take a part to the wall directly under the catwalk ramp that leads up to the tower.
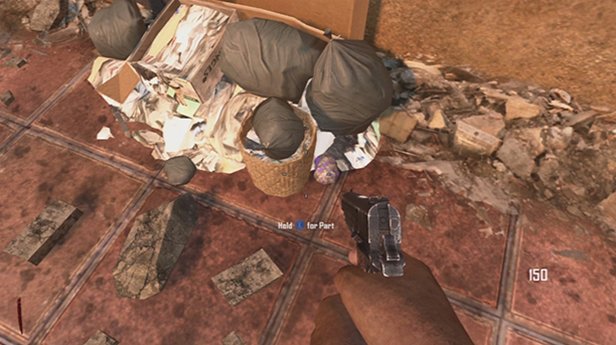
Rock: When you reach the roof, make a quick right and go to the far wall. On the ground, in the pile of rubble you will be able to spot the purple rock there.
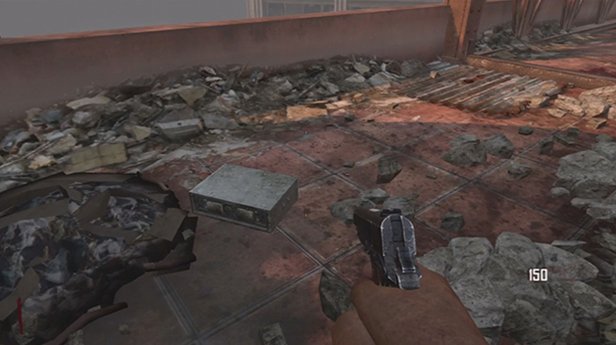
Radio: Go to the far left corner when you reach the roof and behind the shelter covering the staircase there will be the radio on the ground.
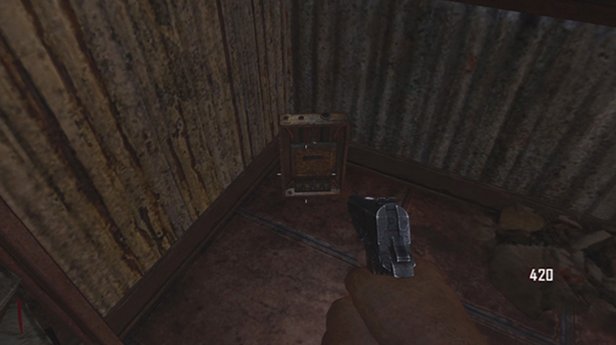
Electrical Box: To get the electrical box, you will need to run up the ramp beside the green dragon and then hop down on the right side, beside the tower. In the far right corner, you will find this circuit board standing in the corner.
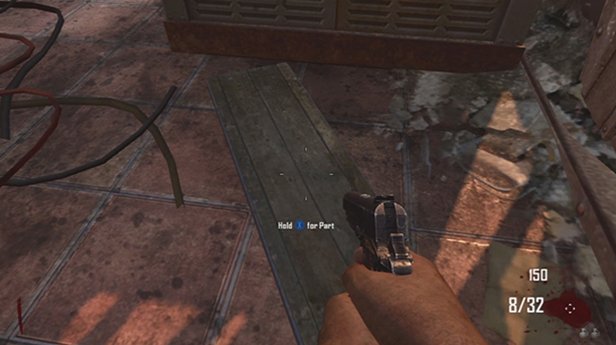
Wooden Plank: The final piece for the table is the wooden plank which is located directly in front of where you build the table.
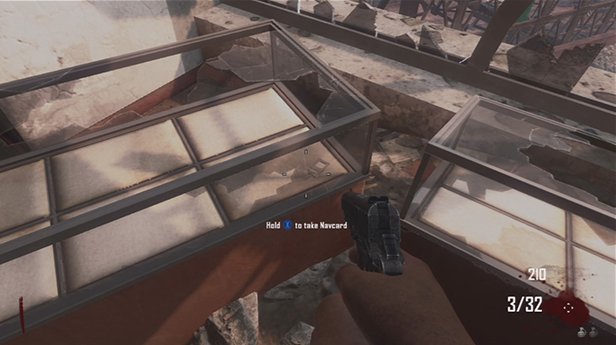
Nav Card: To find the Nav Card itself in Die Rise, you can either jump across the building at the tower just up the ramp from the green dragon or go through the double doors at the spawn point. Either way, go to the floor above the work bench and on the far right, across from the elevator door where the Who's Who appears, there will be a glass case with the Nav Card inside.
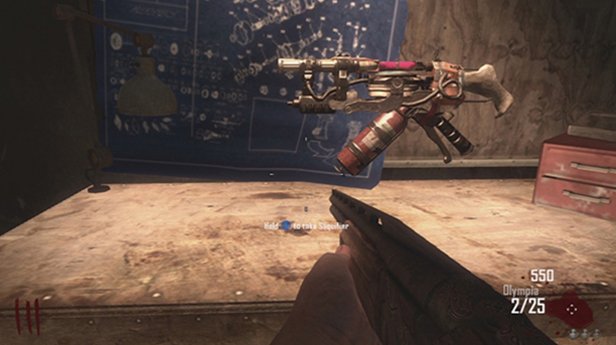
Wonder Weapon: The Sliquifier
All the parts for the Sliquifier are located around the workbench that is found directly under the power room. From the beginning of the match, you can drop down the elevator and then run to the end of the corridor. Make a right and hop across the opening to the next building. Go through the green double doors there and you will enter the power room. Next hop onto either of the elevators on the left side and ride it down one floor. Hop out and you will find the workbench there which is central and closest to all the parts needed to build the weapon.
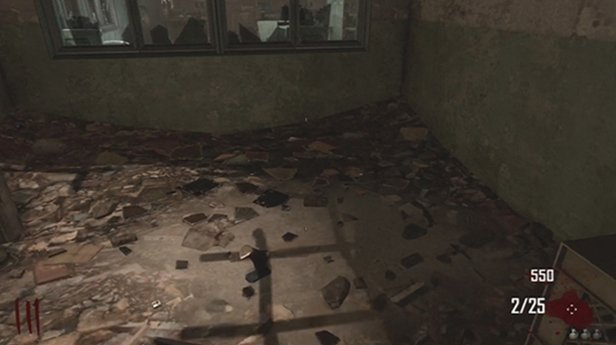
Foot: The foot can be found just above the power room in the dead end room with the rubble covered floor and a couch and television. Look in the center of the floor to see it.
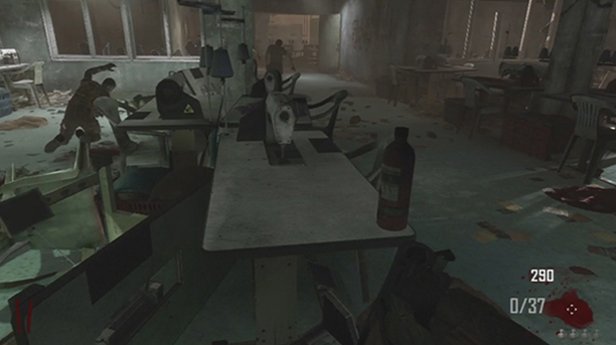
Bottle: The bottle can always be found in the power room, but where it is located the room can vary. Look on the edge of the numerous tables there to spot it.
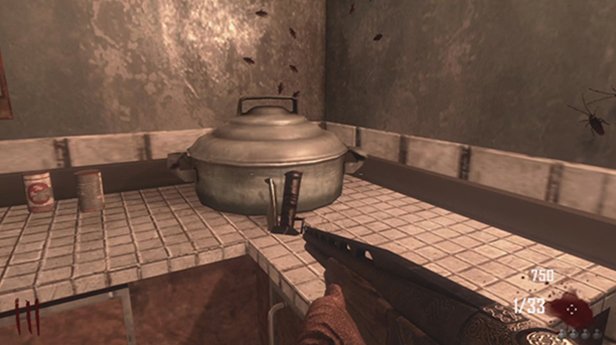
Handle: The handle for the Sliquifier can almost always be found around the left hand corner from the workbench in the small kitchen there. Look on top of the counter there, but on the off-chance it's not there, it'll be in the power room on the far right table.
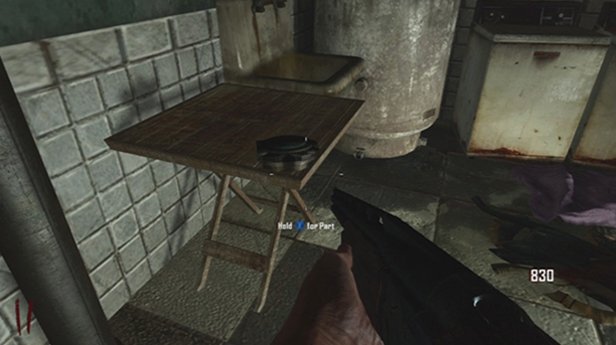
Disc (chassis): This part is a disc shaped but it creates the body of the gun. It can be found either on the drum directly across from the workbench at the bottom of the stairs or on a small wooden table from when you hop across the sloped wall to the building, just before entering the power room, that the rest of the parts are located in.
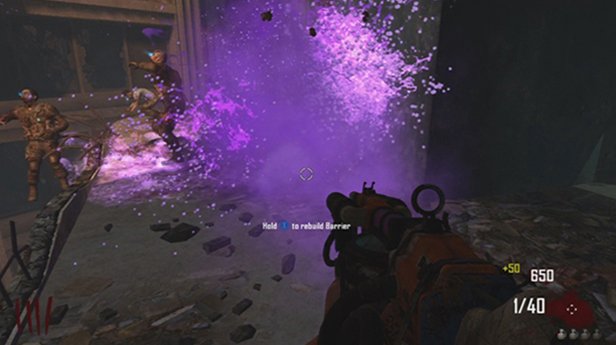
And here's this baby in action...
Black Ops 2 Zombies Die Rise Map Pack
Source: https://www.gamesradar.com/call-duty-black-ops-2-revolution-dlc-die-rise-guide-walkthrough/